


The Abbey Yung Method: A Complete Step-by-Step Hair Care Routine
The Abbey Yung Method is a popular hair care routine consisting of 11 steps divided into four phases. Developed by content creator Abbey Yung, this method is suitable for every hair type. The goal? Healthier, stronger and shinier hair through a thoughtful, personalised routine. In this guide, you'll discover what to use, when to use it, how often to use it, plus product examples and tips for different hair types.
The 4 Phases of the Abbey Yung Method
Abbey Yung divides the routine into four phases, containing a total of 11 steps. Keep in mind that you do not have to follow every step if it does not suit your hair type—some steps are completely optional.
- Pre-shower: Reset & preparation
- In-shower: Cleanse & treat
- Post-shower: Protect & style
- Between washes: Refresh & maintain
Abbey Yung Method: Step-by-Step
- Pre-shampoo bond repair treatment
- Pre-shampoo oil treatment (optional)
- Clarifying shampoo
- Shampoo
4.1 Non-clarifying shampoo
4.2 Medicated shampoo (optional) - Bond repair treatment
- Conditioning
6.1 Gloss
6.2 Conditioner
6.3 Hair mask - Post-wash bond repair treatment (optional)
- Leave-in conditioner & heat protection
- Styling (optional)
- Style sealers
10.1 Serum
10.2 Lotion/Cream
10.3 Hair oil - Between-wash care
Step 1 – Pre-Shampoo Bond Repair Treatment
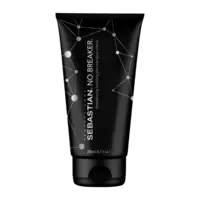
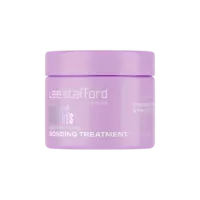
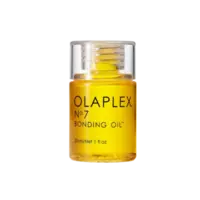
The first step of the Abbey Yung Method is repairing your hair before washing it. Apply a bond repair treatment to slightly damp hair, focusing on the mid-lengths and ends. This helps strengthen the hair fibres and minimise damage during washing. Leave it on for 10–20 minutes before rinsing thoroughly. Use a bond repair treatment once a week. On the same wash day, you can combine it with other bond-building products to complete your routine. Bonding products do not need to be used with every wash—the frequency depends on your hair type. You can also choose to use a bond repair treatment after washing instead. Note: Don't overuse bond-building products. Too much can oversaturate the hair, potentially leading to brittleness and even increased hair shedding.


Step 2 – Pre-Shampoo Oil Treatment (Optional)
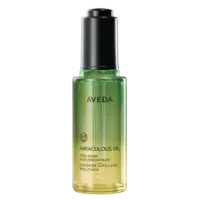
If you have dry, porous or colour-treated hair, apply a pre-shampoo hair oil treatment at least 20 minutes before washing. Focus on the mid-lengths and ends. Choose a lightweight oil for fine hair and a richer oil for thick or curly hair. This step helps prevent moisture loss during washing and leaves your hair softer and shinier.


Step 3 – Clarifying Shampoo
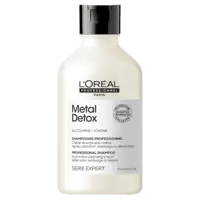
According to Abbey Yung, a clarifying or detox shampoo is essential for healthy hair. It removes product build-up, excess oil and impurities, allowing your hair care products to work more effectively afterwards. Massage the shampoo into your scalp before rinsing thoroughly. Once a week is usually sufficient. If you exercise frequently or use a lot of styling products, you may benefit from using it more often. Listen to what your hair needs. If your hair is colour-treated, choose a colour-safe clarifying shampoo to minimise fading.
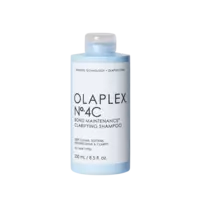

Step 4 – Shampoo
Wash your hair with a shampoo that suits your hair and scalp. There are two options.
4.1 Non-Clarifying Shampoo
On your regular wash days (after using a clarifying shampoo when needed), use a gentle shampoo suitable for your hair type. Focus on cleansing the scalp by massaging gently. The lather running through your hair will naturally cleanse the lengths without stripping away shine or colour.


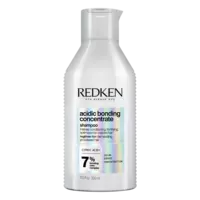
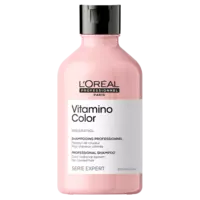

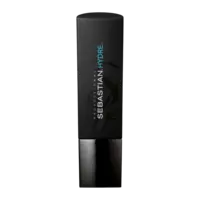
4.2 Medicated Shampoo (Optional)
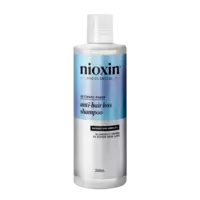
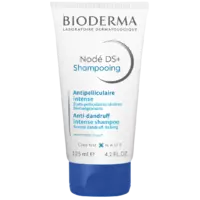
If you experience dandruff, itching, redness or a sensitive scalp, replace your regular shampoo with a medicated shampoo. Focus on your scalp and rinse thoroughly. Use it as often as necessary, alternating with your regular gentle shampoo once your scalp improves.


Step 5 – Bond Repair Treatment
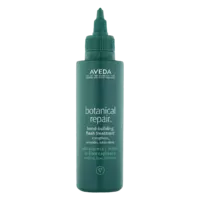
For extra repair during your wash routine, apply a bond repair treatment after shampooing and always finish with a conditioner. The correct order is: Shampoo > Bond Treatment > Conditioner. This simple extra step noticeably improves strength, smoothness and overall hair health.
Step 6 – Conditioning
Abbey considers conditioning essential for healthy, glossy hair. She divides this step into three categories: gloss treatments, conditioners and hair masks. Choose at least one conditioning option after washing, depending on what your hair needs that day. If your hair benefits from it, you can also combine all three. Using only a gloss treatment is generally not recommended, as glosses mainly enhance shine and often lack nourishing ingredients.
6.1 Gloss
If you'd like extra shine or want to refresh your hair colour, apply a gloss treatment to the mid-lengths and ends. Leave it on briefly before rinsing thoroughly. Depending on your hair colour, use it weekly or every four weeks.


6.2 Conditioner
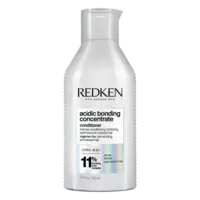
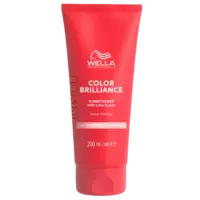
Conditioner is a staple in every routine because it seals the cuticle and helps lock moisture into the hair. Apply from ear level downwards, leave it on for a few minutes and rinse thoroughly. Choose a lightweight conditioner for fine hair and a richer formula for thick or curly hair.



6.3 Hair Mask
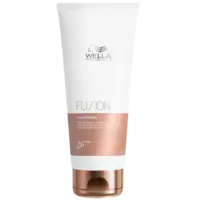
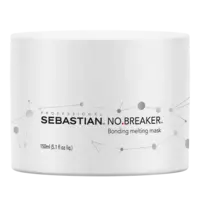
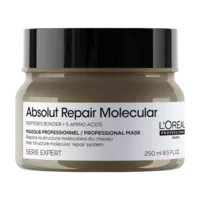
Whenever your hair needs extra hydration, use a hair mask. Leave it on for 5–10 minutes before rinsing. Dry hair can benefit from weekly use, while normal hair usually only needs a mask every two to three weeks.




Step 7 – Post-Wash Bond Repair Treatment (Optional)
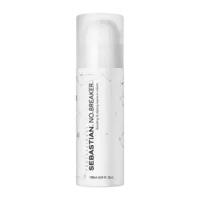
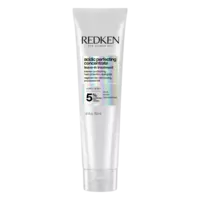
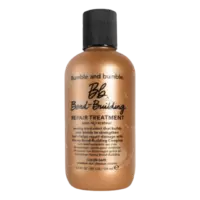
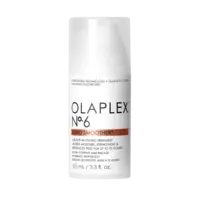
After washing, apply a leave-in bond repair treatment to towel-dried mid-lengths and ends. Do not rinse it out. This strengthens the hair fibres and helps reduce future damage. Use after every wash if your hair is damaged, or once or twice a week for healthier hair.

Step 8 – Leave-In Conditioner & Heat Protection
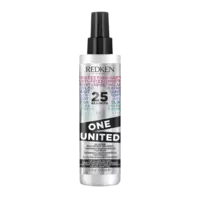
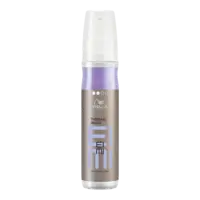
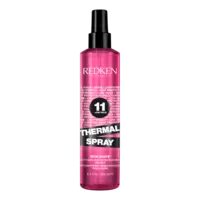
According to Abbey Yung, protecting your hair from heat is just as important as nourishing it. Apply a small amount of leave-in conditioner to the mid-lengths and ends after washing. Gently comb through your hair, as wet hair is more vulnerable to breakage. If you're using heat tools, always apply a heat protectant before blow-drying or styling. If you refresh your hairstyle on day two or three, reapply heat protection first.

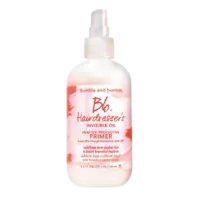
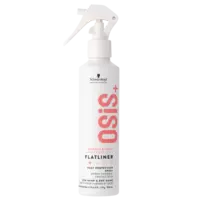

Step 9 – Styling (Optional)
Now it's time to style your hair. This step is entirely optional. Use:
- Mousse for volume
- Styling cream for smoothness
- Gel or texture spray for definition

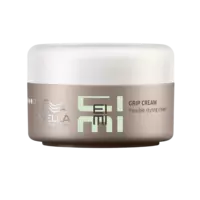

Step 10 – Style Sealers
Finish your look with a sealer - a lightweight finishing product that adds shine, controls frizz and helps your style last longer. Always layer products from lightest to richest.
Serum
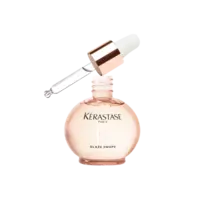
Apply a few drops to the mid-lengths and ends after warming it between your hands.
Lotion/Cream
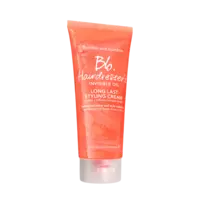
If you still notice frizz or want extra softness, apply a small amount of styling lotion or cream.
Hair Oil
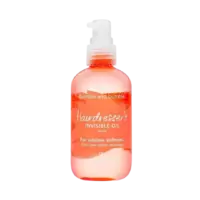
Finish with one or two drops of hair oil, focusing mainly on the ends.
Tip: Using too much product can weigh your hair down and make it greasy more quickly. Avoid applying products directly to the roots.


Step 11 – Between-Wash Care
Keep your hair looking fresh between wash days.
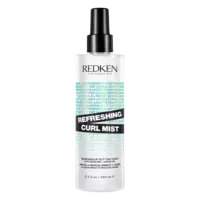
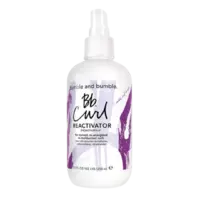
- Revive curls or waves with a curl mist.
- Always reapply heat protection before using hot tools.
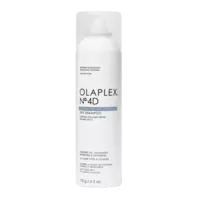
- If your roots feel oily, use a dry shampoo - preferably before bedtime or well before styling, allowing it time to absorb excess oil before brushing it through.
Tips for Different Hair Types
Fine Hair or Soft Waves
- Choose lightweight leave-in products and sprays.
- Use only small amounts of oil.
- Clarify your hair every two weeks.
Thick or Curly Hair
- Choose richer masks and creams.
- Use a pre-shampoo oil treatment.
- Dry with a diffuser on a low heat setting to minimise frizz.
Colour-Treated or Blonde Hair
- Use a colour-safe clarifying shampoo.
- Maintain your colour with a gloss treatment.
- Style with lower heat settings to reduce damage.
Sensitive Scalp
- Use a medicated shampoo mainly on the scalp.
- Avoid overly harsh products.
Common Mistakes & How to Avoid Them
- Too much oil or serum can weigh your hair down. Use only a small amount and focus on the ends.
- Styling without heat protection increases the risk of damage. Never skip Step 8.
- Never clarifying your hair can leave it dull and cause it to become greasy more quickly. Use a clarifying shampoo regularly.
- Only using hydrating products may leave your hair lacking strength. Alternate hydration with bond-building or protein treatments.
- Leaving a gloss treatment on for too long or using it too frequently may alter your hair colour. Always follow the product instructions.
Comments
Post a comment


Tags
Author

Pam
25 | Content Creator | Social Media | Beauty Lover